Here are a couple of close-ups of how I dealt with this angle and corner.

Here is how I finished off the end piece it is a 40 dgree cut. This is as detailed as I will get into this installation. I had no step by step directions to guide me through and since I will not be doing this again anywhere else in this house I can not show any more detail than I already have. Sorry.


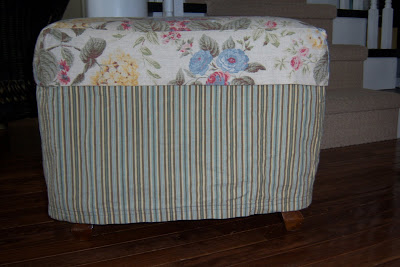
My dumpster foot stool ,that is right dumpster, it wasn't inside though it was left beside the dumpster. I slipcovered it with some left over fabric I had from my drapes. I found this little foot stool in the dumpster area of a condo where we lived before we had Mason 10 years ago, it was covered in green vinyl, it was awful and rickety but I knew I could fix it up . The top floral piece is a separate slip .
 Here are a couple of close-ups of how I dealt with this angle and corner.
 Here is how I finished off the end piece it is a 40 dgree cut. This is as detailed as I will get into this installation. I had no step by step directions to guide me through and since I will not be doing this again anywhere else in this house I can not show any more detail than I already have. Sorry.
 My dumpster foot stool ,that is right dumpster, it wasn't inside though it was left beside the dumpster. I slipcovered it with some left over fabric I had from my drapes. I found this little foot stool in the dumpster area of a condo where we lived before we had Mason 10 years ago, it was covered in green vinyl, it was awful and rickety but I knew I could fix it up . The top floral piece is a separate slip .