I have used the same style of trim as the casing throughout the house to create a frame for the chalkboard. It looks so much better now and is a welcome addition.
Its really hard to attach strips like this to the under side of the bulkhead so I used No More Nails adhesive and some nails with my brad nailer.The pieces in between are to just keep everything in place as the No More Nails is drying.
I screwed the piece above the cabinet in from within the cabinet with particle screws. To all of this strapping I nailed on strips of MDF that went from above the cabinet to the bulkhead then I added some half round pine and random trim to the edges of the MDF and the bottom edge of the bulkhead. This will all then get painted grey , the same finish as the cabinets will be.
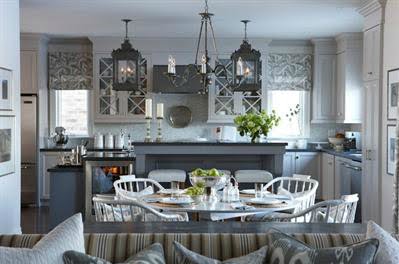
Here is a great example of how it will look in the end like in this kitchen from Sarah's house 4.
Just need to add some simple crown moulding to the top of the bulkhead. If only I knew how...I have some plans tomorrow which may include me learning how to do crown moulding.Exciting.
A few have wondered why there is a bulkhead at all ? this bulkhead conceals the duct work to Mason's room , and I was fine having it over this run of cabinets as I knew I wanted to create a nice feature above the uppers , I think it adds a lot of style, more than just crown moulding at the top of the cabinets.
I'm going to go relax a little and open up the big huge box in my foyer that is my new kitchen sink.


